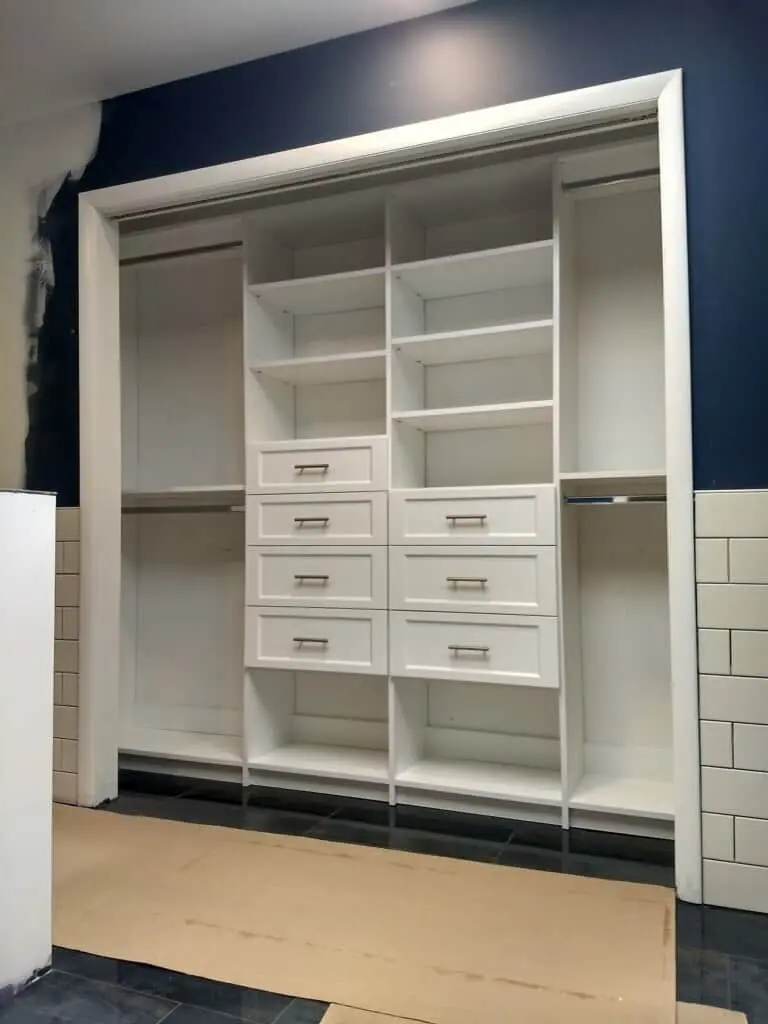
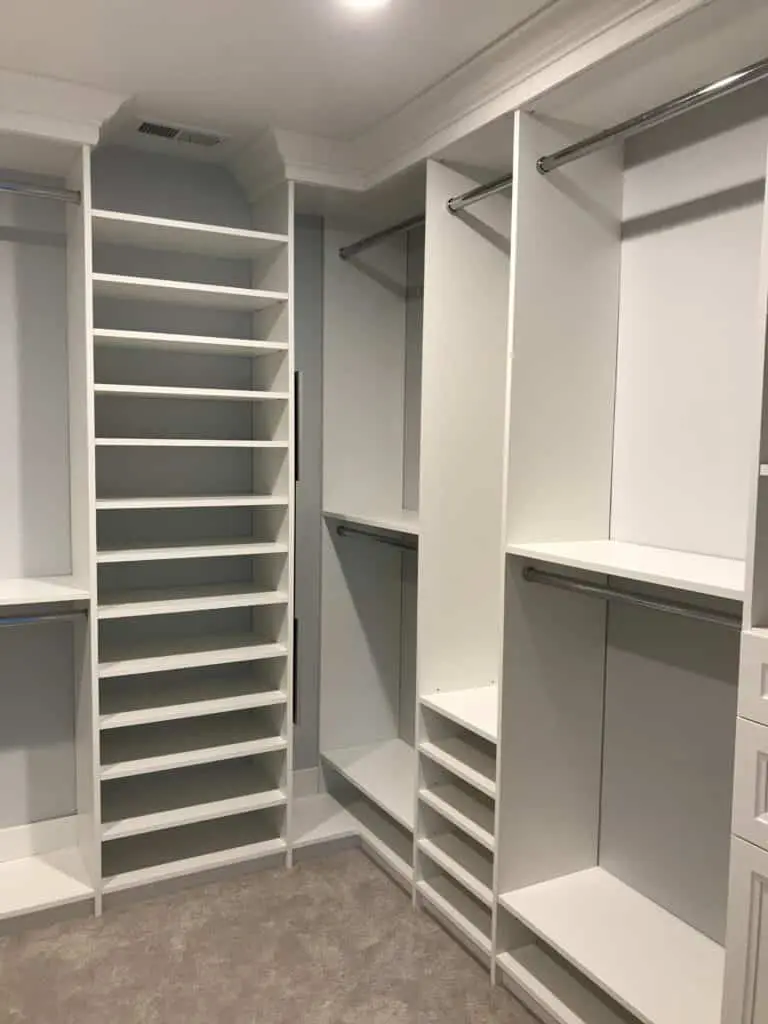
Need your custom closets installed as quickly as possible? If so, read on. This is a fast and simple guide to installing custom closets from Closet Parts.
After launching the process by placing your online order, you should receive your closets within 7 to 10 days. Custom orders usually take about 15 days. Your closets can be delivered directly to the installation site or to another location of your choosing.

At this point, you’re now ready to start the installation process. Here’s a brief guide to the steps you’ll take to install your new closet systems with minimal time and hassle.
Step 1 – Remove Old Closet Parts and Fill Holes
Start by removing old parts and pieces of any previous closet systems. Use a pry bar, hammer, and other basic tools to remove wire shelves, hardware, screws, and so forth.
Now use a spackle knife and spackle to fill holes left behind from the removed pieces. Sand and paint if needed. Allow these areas to dry thoroughly before installing new closet systems.
Step 2 – Unload Your Closet Systems
Your order should arrive packed with your closet system plus its basic hardware, all ready to be offloaded to your location. You’ll have all of the parts carefully labeled to match each closet system.
Review the printed instructions, hardware, and all of the individual pieces needed for assembly. Installation takes only some basic prep work and tools, but you’ll want to make sure you have everything on-hand.

Step 3 – Do Prep Work for Your New Closet Systems
Now prep the walls according to the closet system installation instructions. Measure carefully to ensure you have the height of the closet system in the right place, checking the eventual locations of shelves and other closet system pieces.
Please view our YouTube video that gives a step-by-step look at the process. Click the link below to see a skilled installer from Closet Parts demonstrate each step.
Watch Video: Installing the New Closet System
Step 4 – Add Finishing Touches
After the main skeleton of your closet system is installed, you’ll probably still have some finishing touches to add as you wrap up the installation. Add all of the drawer sliding hardware, then drawers, shelves, and finishing hardware.
Fill in any gaps and screw holes as needed, leaving a smooth and clean finish. Your new closet systems are now installed and ready to go.
Installation Questions? We Can Help!
If you have questions about installation or need extra training, Closet Parts offers training services. We can help you – or an entire crew – get up and running to do numerous installations within one day of training. Email to request additional training services from Closet Parts.
We’re proud to provide a wide selection of high-quality, budget-friendly wholesale closet solutions. Closet Parts is a top choice of U.S. property owners, professional closet companies, developers, investors, and more.
To start your first order, please contact Closet Parts using the contact info below or begin your custom order online. You’ll love our easy ordering and installation!
Email Closet Partsor call 1-877-C-Parts1 (1-877-272-7871)